Water Cycle STEM Activities for Kids
We may earn a commission for purchases made using our links. Please see our disclosure to learn more.
Why does a puddle disappear after the rain, and where does that water go? Children hear words like evaporation and condensation at school, but those ideas make more sense when they can watch water move and change. The right Water Cycle STEM Activities turn everyday materials into small investigations, with no complicated equipment required.
This guide covers simple experiments for home and classrooms, including a water cycle in a bag, a miniature rain cloud, and a model landscape that shows where rainwater travels. You’ll also find ways to adjust each challenge for different ages, turn observations into useful data, and choose science tools worth having. Some activities produce results within minutes; others are better left for children to observe over several days.
How the Water Cycle Works
The water cycle describes water moving between the ground, oceans, plants, and atmosphere. Sunlight drives evaporation, turning liquid water into invisible vapor. Cooling air allows vapor to condense into cloud droplets. Water eventually returns as precipitation, including rain or snow.
Some rain flows downhill as runoff; some infiltrates soil and rock, while plants release water vapor through transpiration. Water also stays stored in lakes, ice, and underground. Each model shows only part of this complex system.
Prepare a Simple, Safe Water Science Station
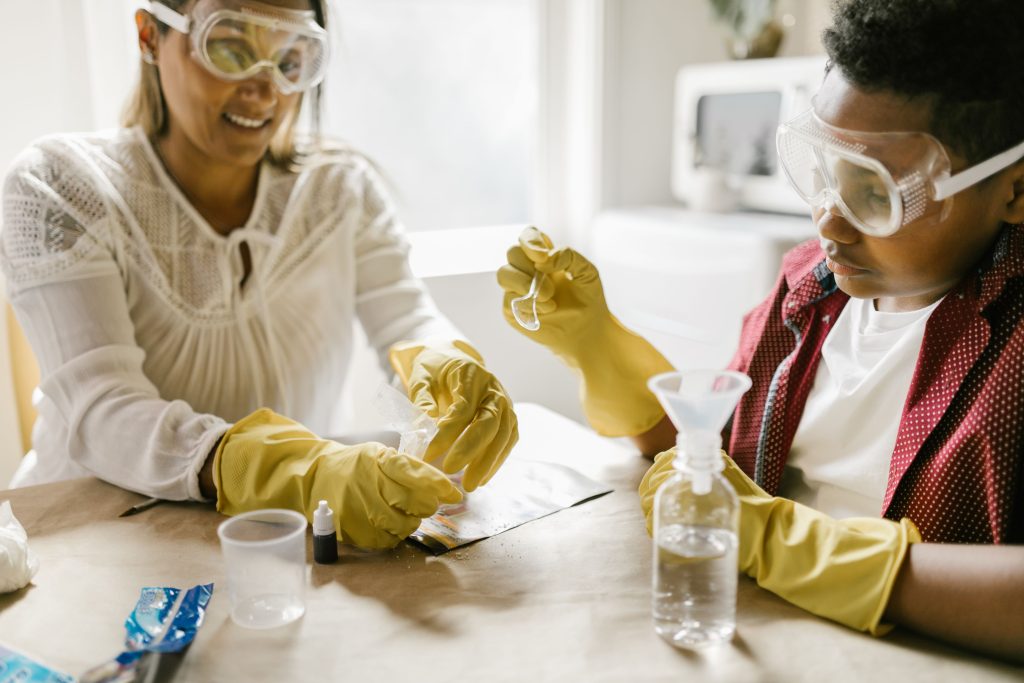
Gather clear cups, bags, a tray, tape, markers, ice, water, and towels. Add a ruler or notebook for measurements. Set everything on a washable surface and label each experiment so observations do not get mixed up.
Younger children can pour and describe; older children can predict and measure. Adults should handle scissors, glass containers, and any hot water. The experiments below work with room-temperature water, avoiding the burn risks associated with boiling-water demonstrations. Keep small pieces out of reach of young children. Never taste experimental water.
Make a Water Cycle in a Bag
Materials: Clear resealable bag, water, marker, tape, and a sunny window.
- Draw a sun, cloud, and water surface on the outside of the bag.
- Add a small amount of water, seal it securely, and tape it upright to the window.
- Check daily for droplets on the inside and streaks running downward.
Water evaporates inside the bag and condenses on cooler plastic. Droplets merge and slide down, resembling rainfall; real clouds form in the atmosphere.
Compare morning and afternoon observations; photograph changes without opening the bag.
Build a Miniature Water Cycle Terrarium
Materials: Clear lidded container, a little soil, small moisture-tolerant plant, and water.
Place slightly damp soil and the plant in the container, then close the lid. Place in indirect light and watch for droplets returning to the soil. Avoid direct intense sun, which can overheat a closed container and harm the plant.
Water evaporates from soil and leaves plants through transpiration. Condensation may be subtle, and the model is incomplete. Compare it with a second container holding damp soil but no plant to discuss what changed.
Create a Rain Cloud in a Cup
Materials: Clear glass or cup, water, shaving foam, food coloring, and a dropper.
Fill the cup with water and top with shaving foam. Add colored water until color passes through the foam. Count how many drops it takes, then repeat with a thicker or thinner foam layer.
This is a visual analogy, not cloud formation. Foam differs from atmospheric droplets, and sinking dye does not behave like rain. Explain that real rain forms from growing cloud droplets or ice particles. Supervise and avoid eye contact with foam.
Test What Changes Evaporation Speed
Materials: Two matching shallow containers, measuring cup, water, and notebook.
Add an equal amount of water to each container. Put one in a warmer, bright location and the other somewhere cooler, while keeping the containers otherwise similar. Mark and compare water levels daily. Protect both from spills.
Ask which container will lose water faster and why. Temperature, airflow, humidity, and surface area affect evaporation, so change one variable at a time. Next compare a wide dish and narrow cup in one location. Record results rather than assuming an outcome.
Find Condensation on a Cold Cup
Materials: Two dry, clear cups, ice, water, and a paper towel.
Fill one cup with icy water and the other with room-temperature water. Dry both outsides. Watch for moisture and ask whether water leaked through the cup.
The droplets form when water vapor in the surrounding air condenses on the cold surface. The cup with room-temperature water provides a useful comparison. Condensation varies with humidity. Wipe the cold cup and check whether droplets return.
Watch Plants Release Water Through Transpiration
Materials: Healthy leafy plant, clear lightweight bag, and a loose tie.
Enclose a cluster of leaves in the bag and gently secure the opening around the stem without crushing it. Avoid intense heat; check later for moisture, then remove the bag.
Plants release water vapor through their leaves; that vapor may condense inside the enclosed space. The USGS explanation of transpiration describes this observation. Compare with an empty bag; wet leaves may confuse results. Never leave plastic bags where small children can access them unsupervised.
Model Runoff, Erosion, and Infiltration
Materials: Shallow tray, soil, pebbles, sponge, small cup, and water.
Build a slope with bare soil and areas covered by pebbles or sponge. Pour equal amounts of water slowly over each area and watch where it travels. Catch runoff if possible, and compare how much collects below the slope.
Observe downhill flow, soil movement, and absorption. A sponge represents infiltration imperfectly; real groundwater travels through spaces in soil and rock. Change one feature per trial, then redesign the slope to reduce muddy runoff.
Measure Real Rainfall With a DIY Rain Gauge
Materials: Straight-sided transparent container, ruler, waterproof marker, and stable outdoor spot.
Mark a measurement scale starting at the container’s flat bottom. Set it upright in an open area, away from roof runoff and sprinkler spray. After rain, read the depth at eye level and note the date and collection period. Empty afterward.
A container with sloping sides makes readings harder to interpret, so use a straight-sided one or a purpose-built gauge. Compare results with puddles and soil moisture, then chart totals by storm. Bring the gauge inside when severe weather threatens.
Turn Every Activity Into a Real STEM Investigation
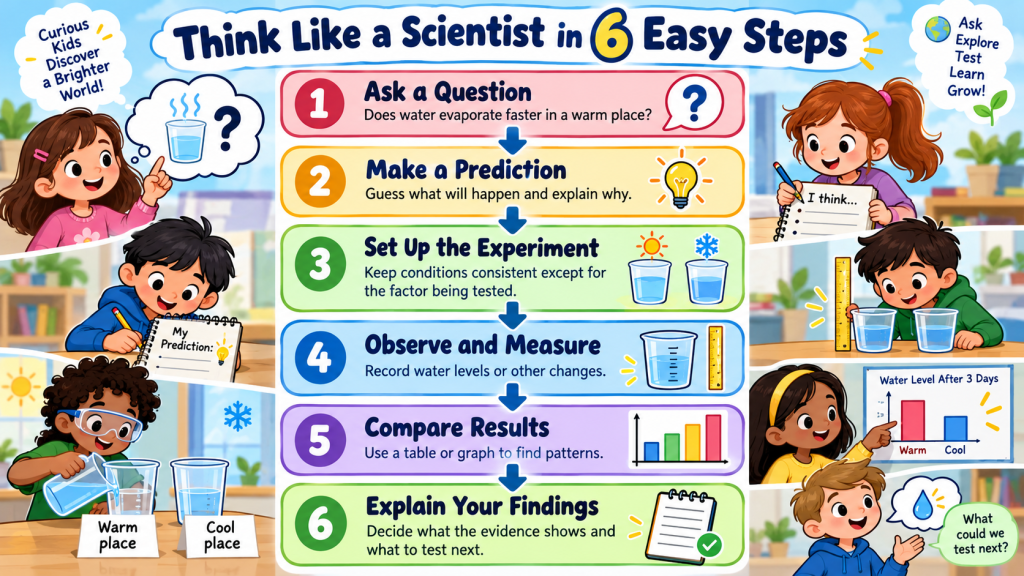
Demonstrations show what happens; investigations test predictions. Before beginning, have children finish this sentence: “We think ___ will happen because ___.” Then choose one measurement, such as number of droplets, water depth, or days until condensation appears.
Keep a simple log with question, prediction, observations, and explanation. Young children can draw; older ones can make graphs. Encourage them to report results that contradict their guesses. For more ideas on choosing suitable challenges, see our guide to meaningful STEM activities.
Recommended Products for Water Cycle STEM Activities
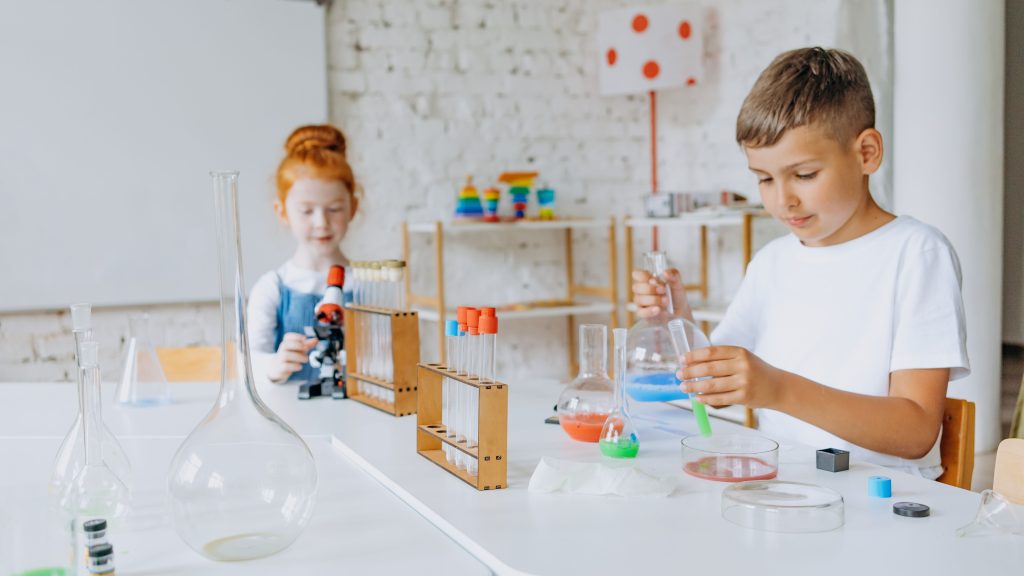
Household supplies cover most experiments. These five products make particular tasks easier or add observations that a homemade demonstration cannot provide.
4M Green Science Weather Science Kit
Best for: Children who want a dedicated desktop water-cycle model.
This kit offers activities connected to cloud formation, weather, and a small water-cycle model, making it a close match for the topic. It suits learners who enjoy building as well as observing. Adults should check the instructions and required household supplies beforehand; it is an activity kit, not a substitute for measuring real outdoor rainfall.
Learning Resources Primary Science Lab Set
Best for: Preschool and early-elementary beginners.
The 22-piece set supplies child-sized equipment, including a beaker, funnel, eyedropper, test tubes, and activity cards. Its reusable tools work well for water transfers and simple comparisons long after the first activity. It does not contain a dedicated water-cycle model, so adults still need to plan the lesson and provide water and containers.
Thames & Kosmos Weather & Climate Lab
Best for: Children ready to collect outdoor weather data.
This five-in-one weather station combines a rain gauge, thermometer, anemometer, wind vane, and compass. Its experiment guide connects weather observations to topics including the hydrological cycle. The main advantage is repeated data collection rather than a one-time demonstration. The station needs outdoor placement and adult help with setup and interpretation.
Learning Resources Primary Science Jumbo Eyedroppers with Stand
Best for: Small hands practicing controlled rainfall simulations.
This set includes six oversized droppers and a storage stand, useful for adding colored water to the rain-cloud activity or measuring drops in a controlled test. The large bulbs suit beginners developing pouring and squeezing control. They are transfer tools, not a complete experiment kit, so pair them with cups, water, and thoughtful questions.
4M Green Science Clean Water Science Kit
Best for: Older beginners exploring filtration and water reuse.
This kit introduces water treatment through small filtration and solar-powered purification demonstrations. It extends a water-cycle lesson into questions about how people manage water after it falls. Filtration and distillation differ from natural precipitation. Some experiments involve hot water and need adult handling; never drink collected water.
What NASA and Science Education Research Support
NASA’s Exploring the Water Cycle lesson asks students to investigate water movement and the role of heat energy. The USGS water-cycle overview likewise shows that water moves through plants, soil, atmosphere, and surface waterways, rather than following only a simplified three-step loop.
The National Research Council’s 2012 Framework for K–12 Science Education emphasizes building models, planning investigations, analyzing evidence, and explaining findings. That supports asking children to predict, measure, and revise their ideas instead of simply watching a demonstration. These resources provide scientific and instructional guidance, but they do not establish that any particular commercial kit improves school achievement or that one single activity provides a complete understanding.
Frequently Asked Questions About Water Cycle STEM Activities
What is the easiest water cycle experiment for kids?
Try a sealed water-cycle bag. Add water, seal it, and place it in a bright window. Children can look for condensation and droplets moving downward. Results depend on temperature and sunlight, so check over several days rather than expecting a dramatic change immediately.
What age is appropriate for water cycle activities?
Preschoolers can start with supervised water play and descriptions. Elementary-age children can learn scientific terms, measure, and compare results. Choose activities by attention span and practical skills, not age alone. For preschoolers, adults should manage the setup and help explain each observation. Follow product-specific warnings.
Can you teach the water cycle without sunlight?
Yes. Sunlight drives much of Earth’s water cycle, but cold-cup condensation works without it. You can compare evaporation indoors. A window-bag model may progress more slowly in low light, so select an activity with observable results under your actual conditions.
Is the shaving-cream rain cloud scientifically accurate?
It is an analogy, not cloud physics. Foam represents a cloud, and colored liquid represents rain. Explain that actual clouds consist of tiny water droplets or ice crystals, and precipitation forms through processes occurring in the atmosphere. Pair this activity with a cold-cup experiment for real condensation.
Do we need to buy a science kit?
No. Bags, cups, ice, water, soil, and a ruler can demonstrate or model most key processes. Buy a kit for reusable instruments, specialized parts, or guided investigations. Beginners should start with household materials and find out which processes spark the most questions before investing in equipment.
Final Thoughts: Start With Water You Can Observe
The most effective Water Cycle STEM Activities help children connect what they see in a cup, window, garden, or rain gauge to the much larger movement of water around Earth. Start with a water-cycle bag or cold cup for a clear introduction, then try a plant bag, terrarium, or runoff model to reveal less obvious pathways.
You do not need to purchase supplies to make these experiments meaningful. The Learning Resources Primary Science Lab Set is helpful for repeated indoor activities, while the Thames & Kosmos Weather & Climate Lab suits children keen to gather outdoor data. Whichever approach you choose, keep one question at the center, record what actually happens, and use the results to decide what to test next.